Overview
Project Description
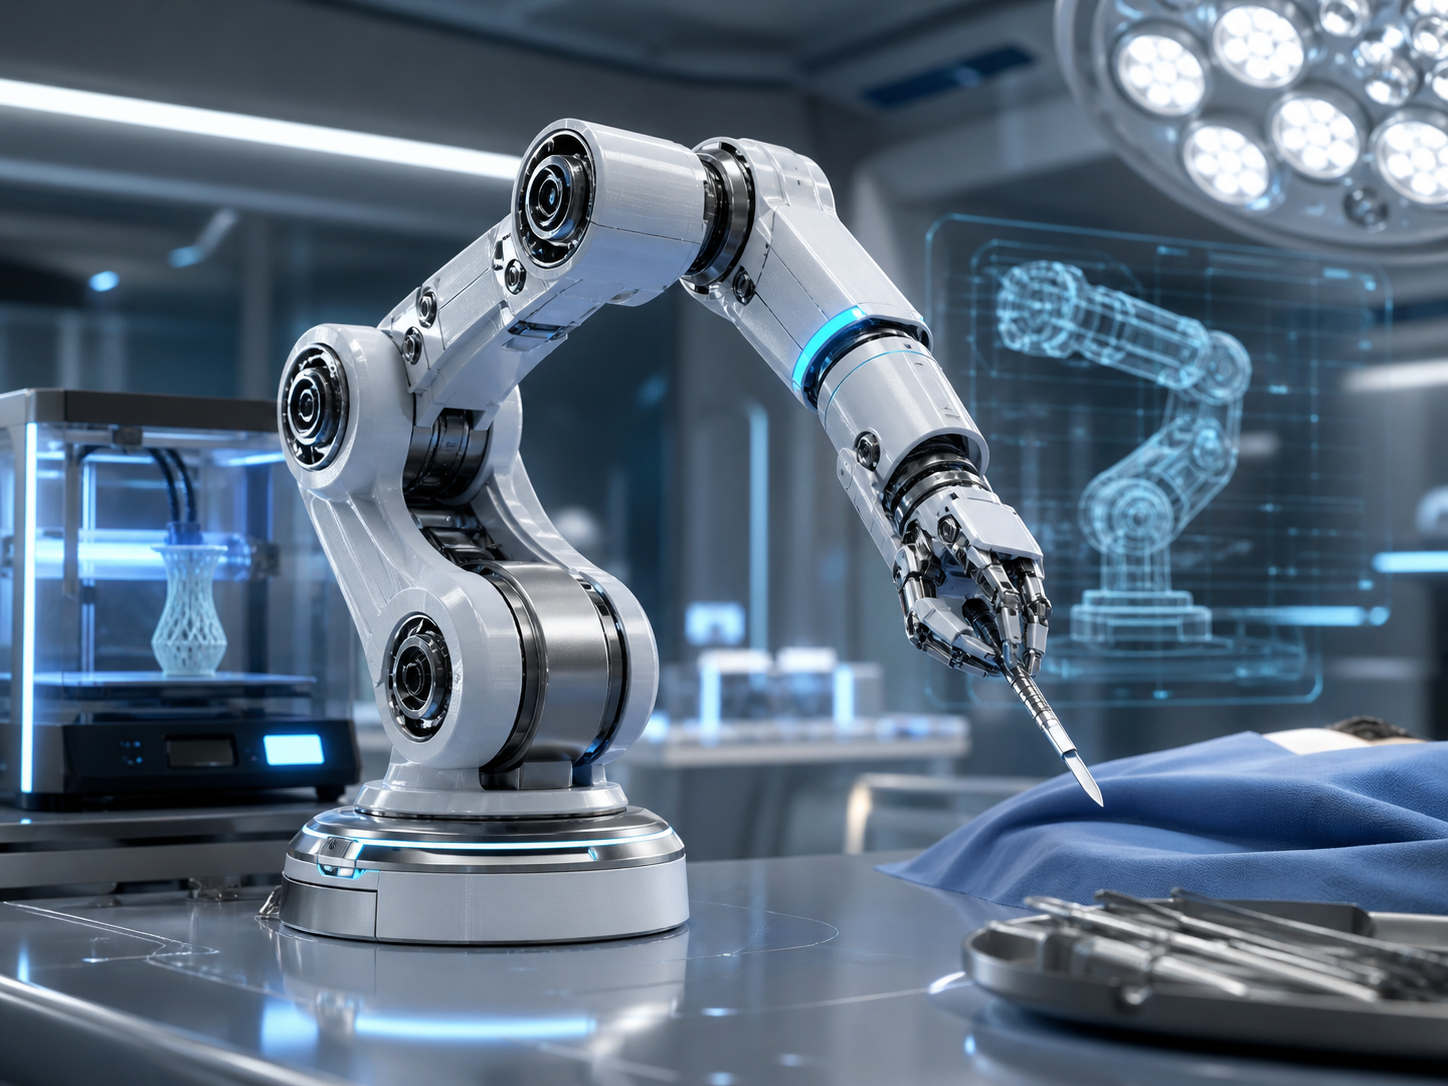
A student-built robotic assistant arm designed to explore precision movement, camera-based recognition and assisted manipulation. The project introduces members to robotics architecture, embedded control and applied computer vision.
Supervisor: NEXUS Project Team
Materials
Hardware / Material
- Raspberry Pi
- ESP32 board
- Camera module
- MG996R servomotors
- Power supply
- 3D printed arm parts
- Jumper wires
- Mechanical screws
Technologies
Technologies Used
PythonOpenCVYOLOESP32 firmwarePWM servo controlMATLAB simulationSolidWorks CAD3D printing
Tutorial
Build Steps
- Design the arm structure in CAD and prepare printable mechanical parts.
- Assemble servomotors and test each joint independently.
- Connect the ESP32 to the servo driver and validate PWM angles.
- Set up the Raspberry Pi camera and run basic object detection.
- Map detected object positions to arm movement commands.
- Test the full workflow and tune movement limits for safety.
Images
Project Gallery
Code
Code / Repository Notes
import cv2

cap = cv2.VideoCapture(0)
while True:
    ok, frame = cap.read()
    if not ok:
        break
    # Detect object, compute target position, then send angles to ESP32.
    cv2.imshow('NEXUS Robotic Arm', frame)
    if cv2.waitKey(1) == 27:
        break
cap.release()
Participation
Join this project
This demo project is not open for registration yet.